
Making a Pennant Flag - DIY
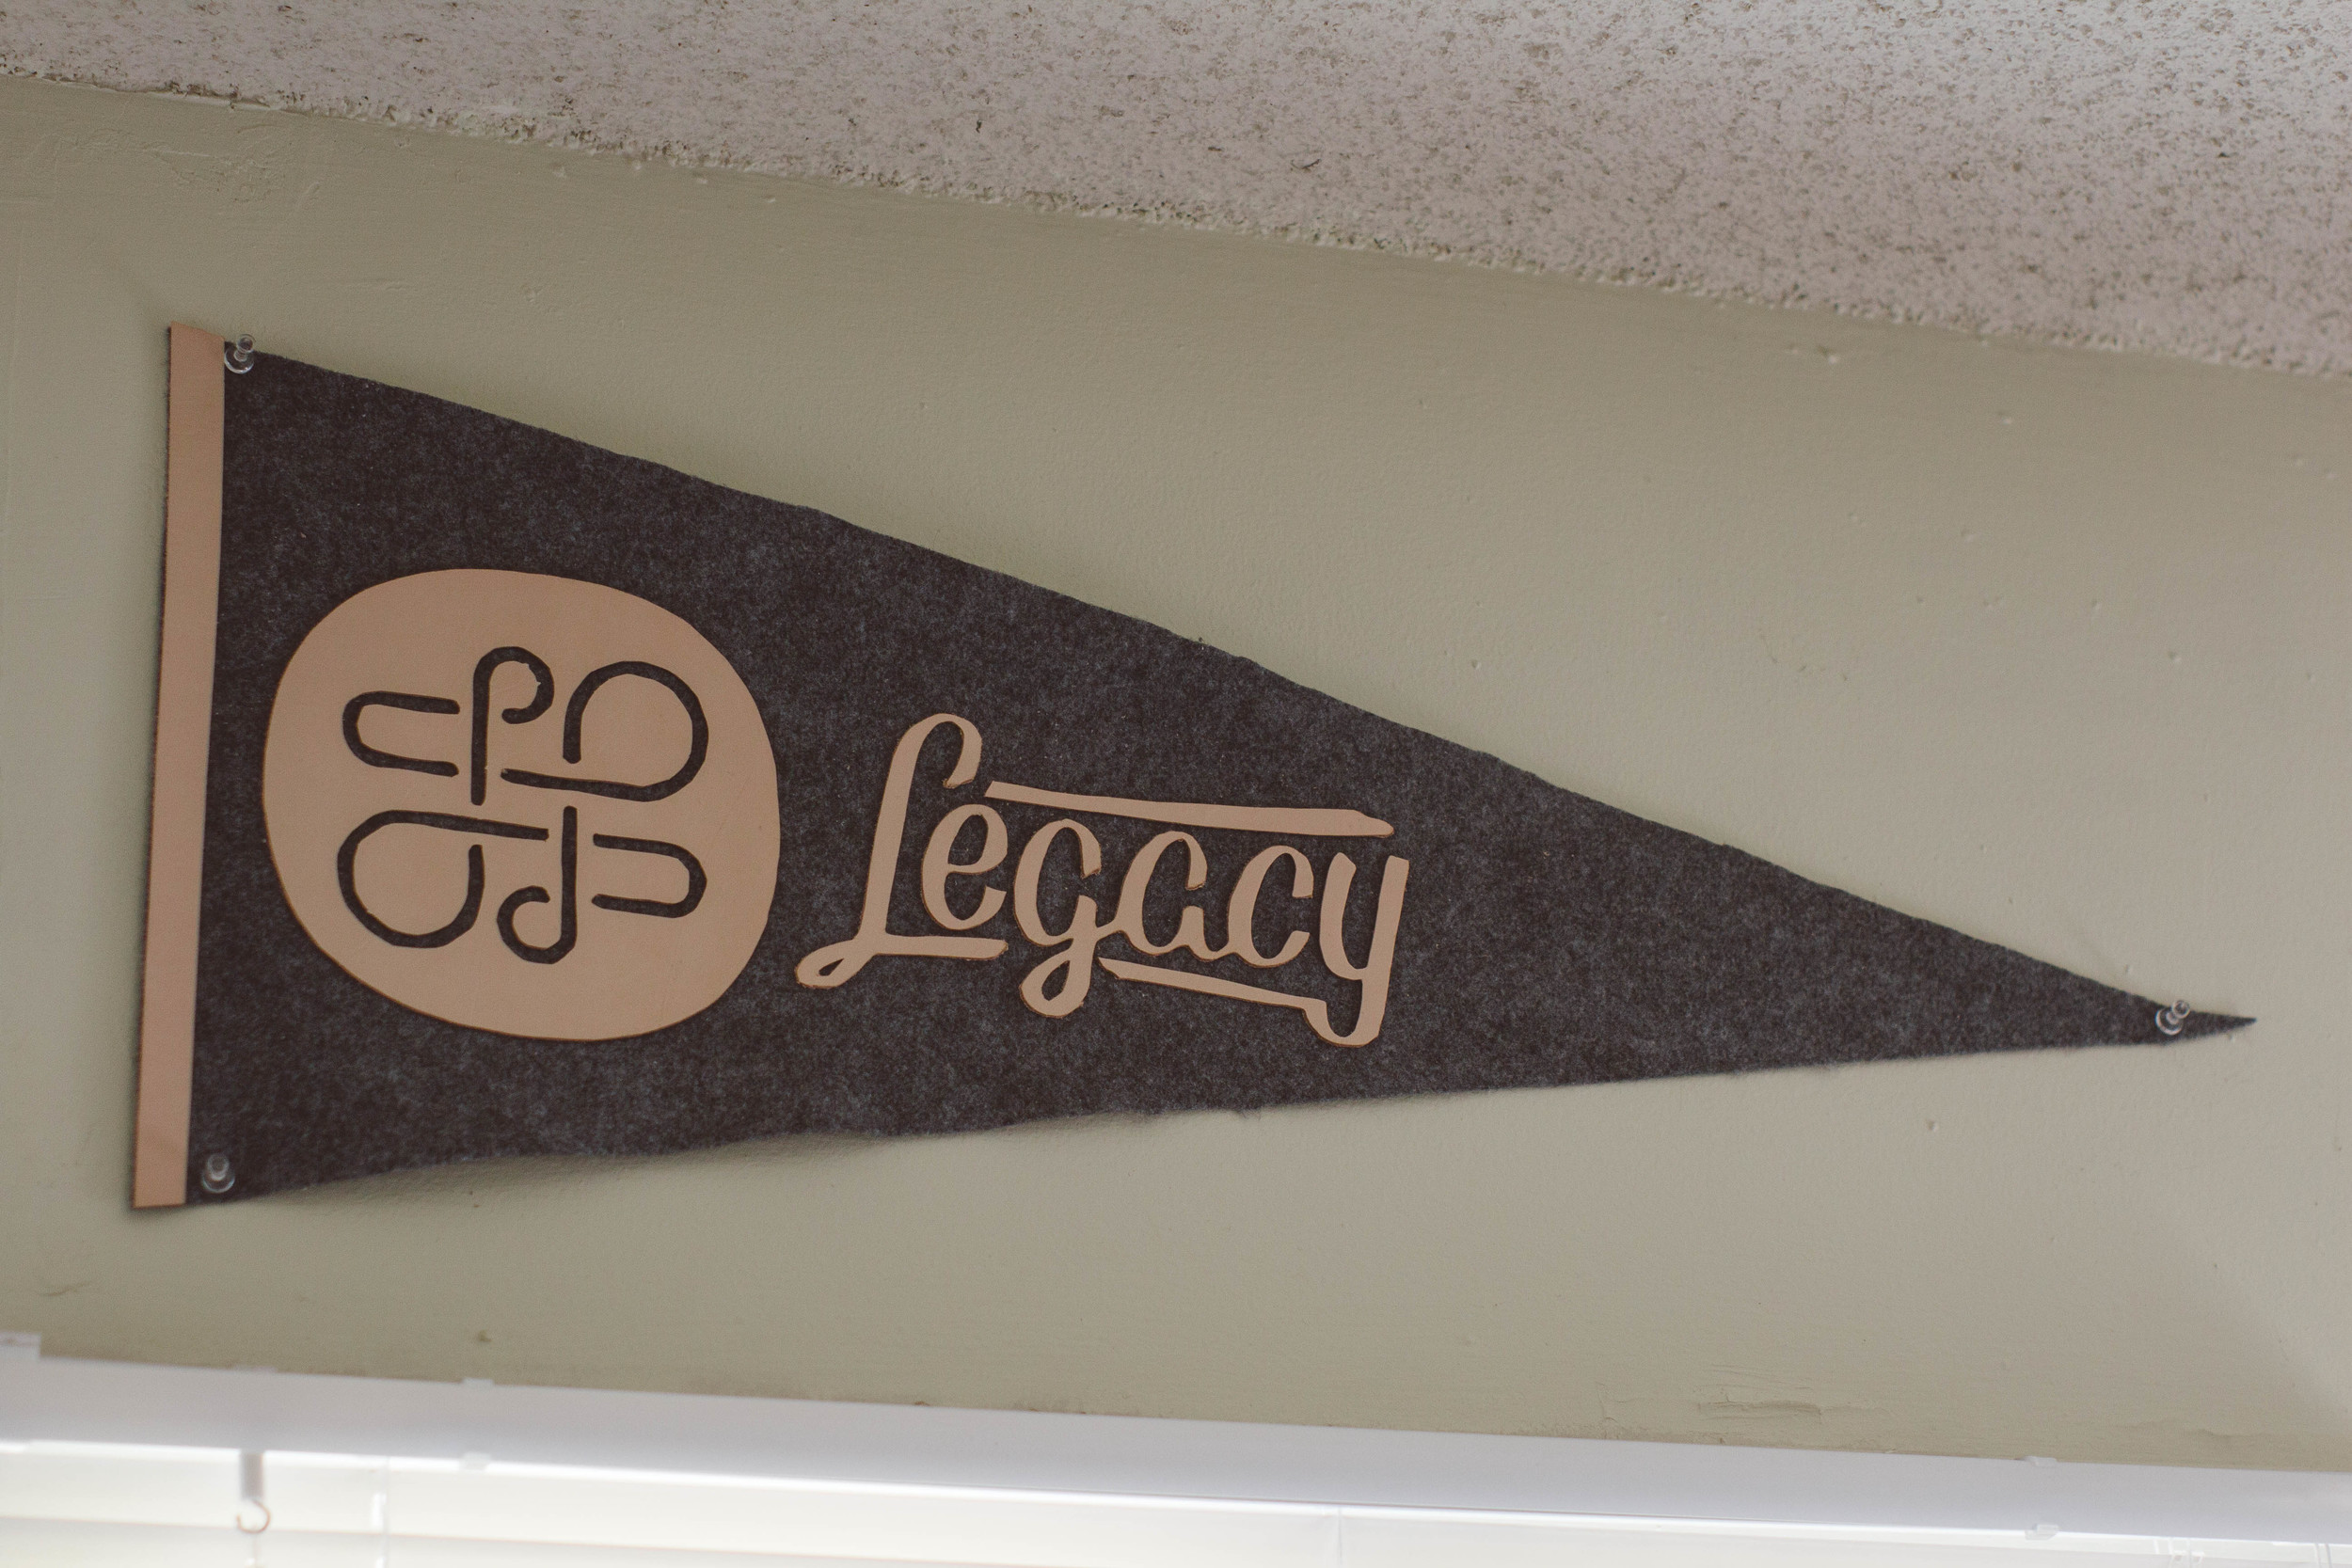
I've always loved pennant flags, whether for a baseball team, college football team, or even a circus that rolled into town. I decided to try my hand at making one and knew I wanted to incorporate leather into the project as one of the main components of the construction.
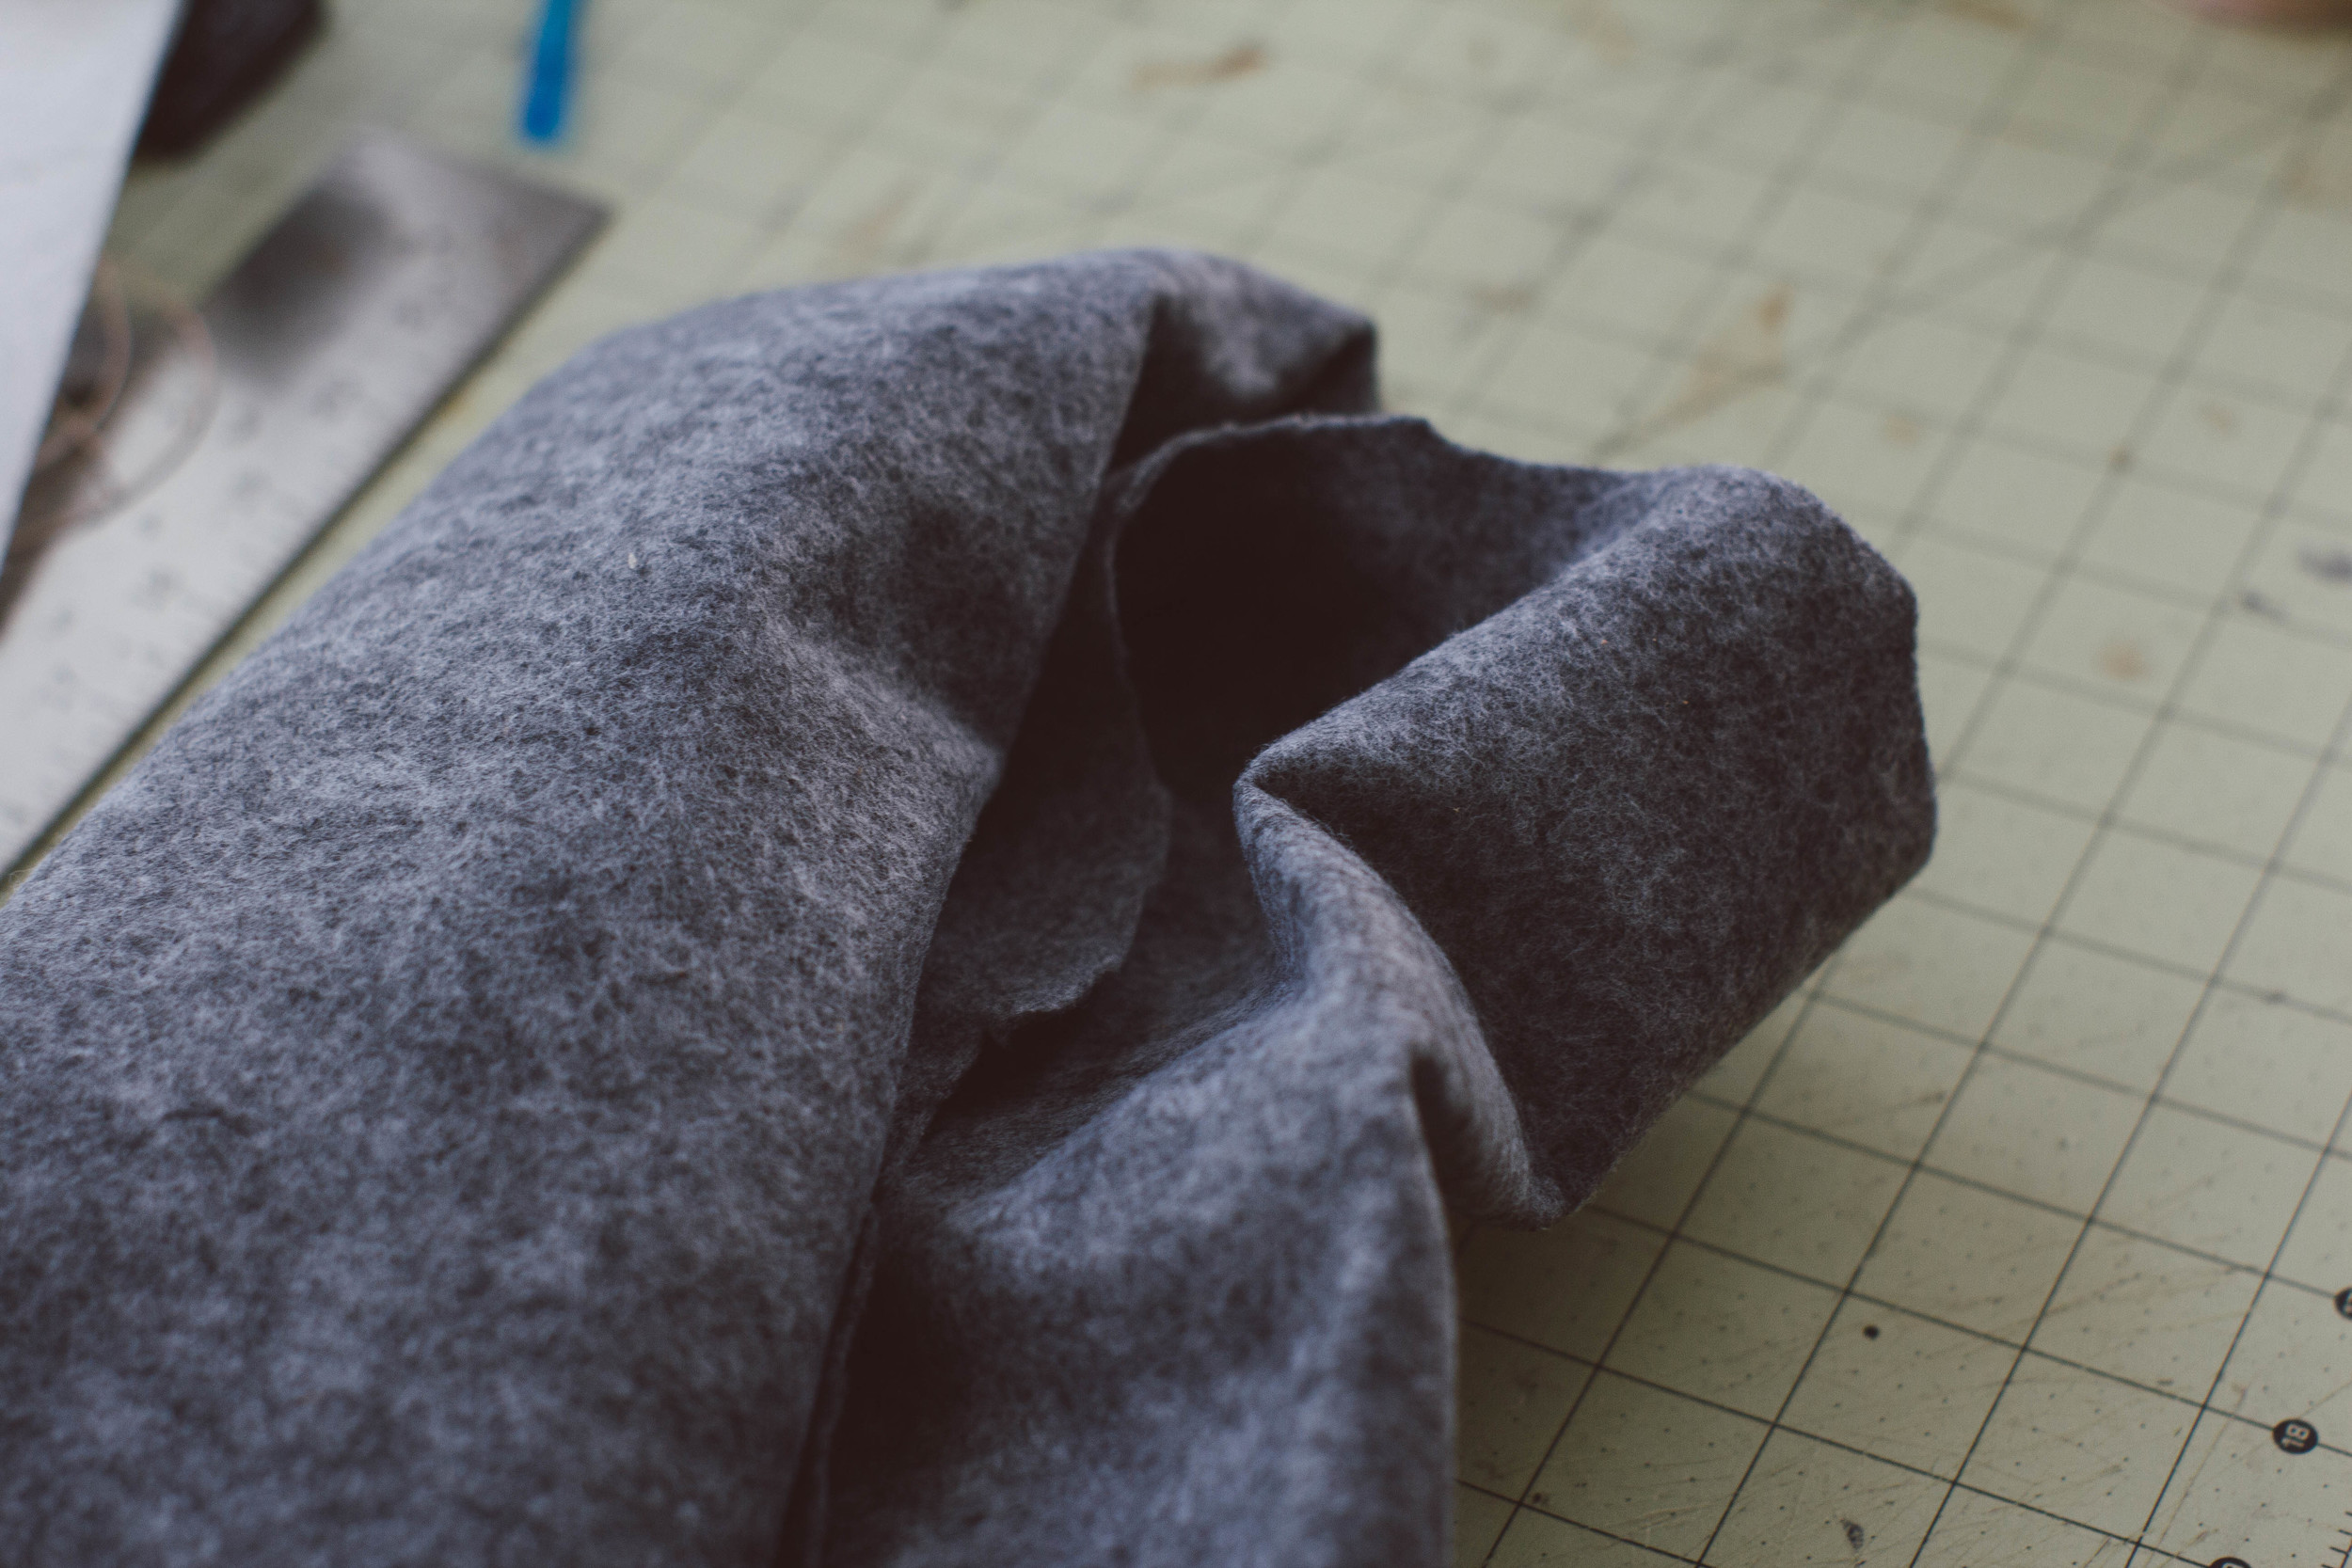
Pennant Flags typically measure 12" tall by 30" in length. I have some gray wool felt lying around to be used for other projects and thought this would be perfect for the main body of the flag.
I chose some 3-4 oz Natural veg-tanned leather for the logo and lettering. After printing out the logo enlarged to fit on a 8.5" x 11" thicker 65 lb. printing paper, I cut out and made a stencil of the logo. Similarly, I enlarged the script logo text for "Legacy" on a page and cut this out as well with scissors and an x-acto curved blade for the detailed bits.
Here are the main tools you'll need to complete a project like this. X-acto blade, pen for tracing, scissors, and.... time. It's tedious work, but the more detailed you are the better the project will turn out.

Once you've printed, cut your stencils, traced and cut your material, all that's left is to glue your pieces in place. I chose to use a leather weld for my pieces. Lastly, I cut a 12" by 3/4" strip for the edge of the flag to give it a look of stability.
This project took me about 4-6 hours... Yes, that's quite a bit of time. Mostly because I traced the logo backwards, and forgot that when transferring you'll need to flip the logo depending on what side of the leather you want showing. So... I did the logo twice.
But that's apart of the learning process when trying something new. All in all, I'm looking forward to seeing how this leather will age over the course of the pennant flag's life and I hope to carry it with me wherever I set-up shop.
