
Leather Bracelet DIY
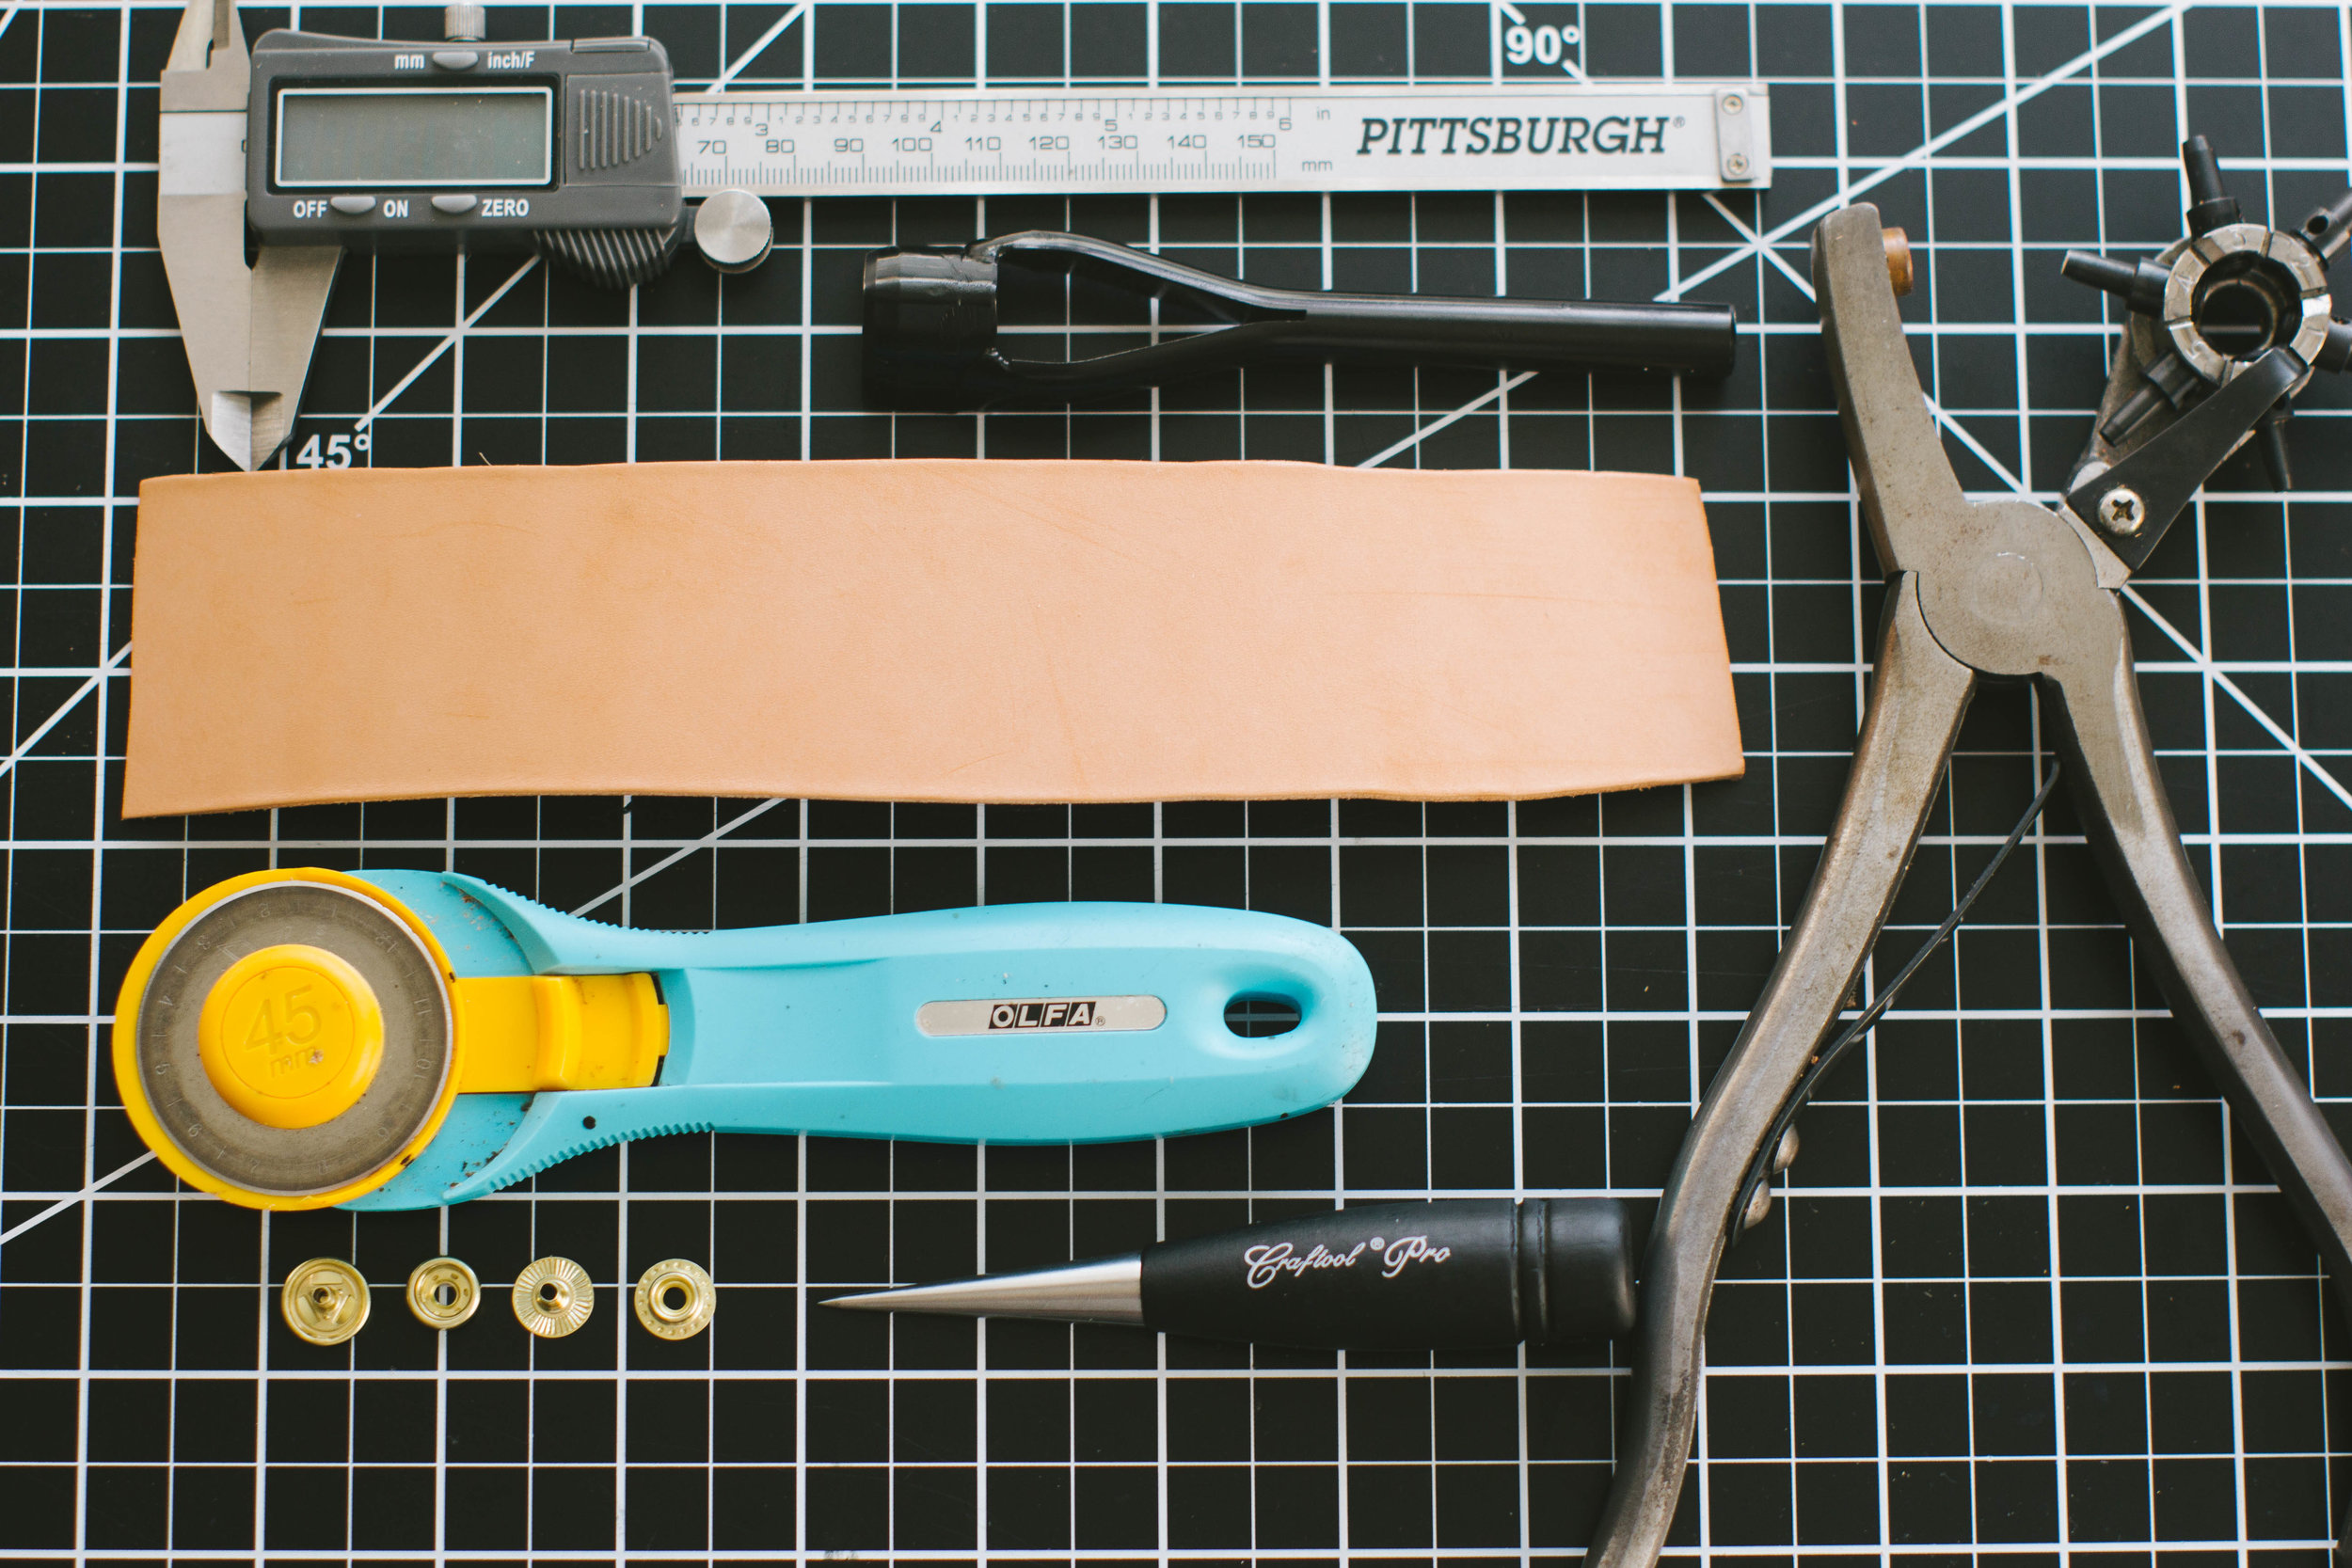
Hello! I'm going to show you how to make a leather bracelet yourself! Above are some of the items we'll be using today: digital caliper, 3/4" English point strap end punch, rotary punch, rotary cutter, ruler, craftool pro burnishing awl, brass line 20 snaps, and a scrap of leather measuring 2" by 9".

Firstly, using the rotary cutter and ruler, cut off a side of the leather length-wise to give you a nice clean edge. Then using a caliper or ruler, measure a width of 3/4" and cut a strap 3/4" wide.
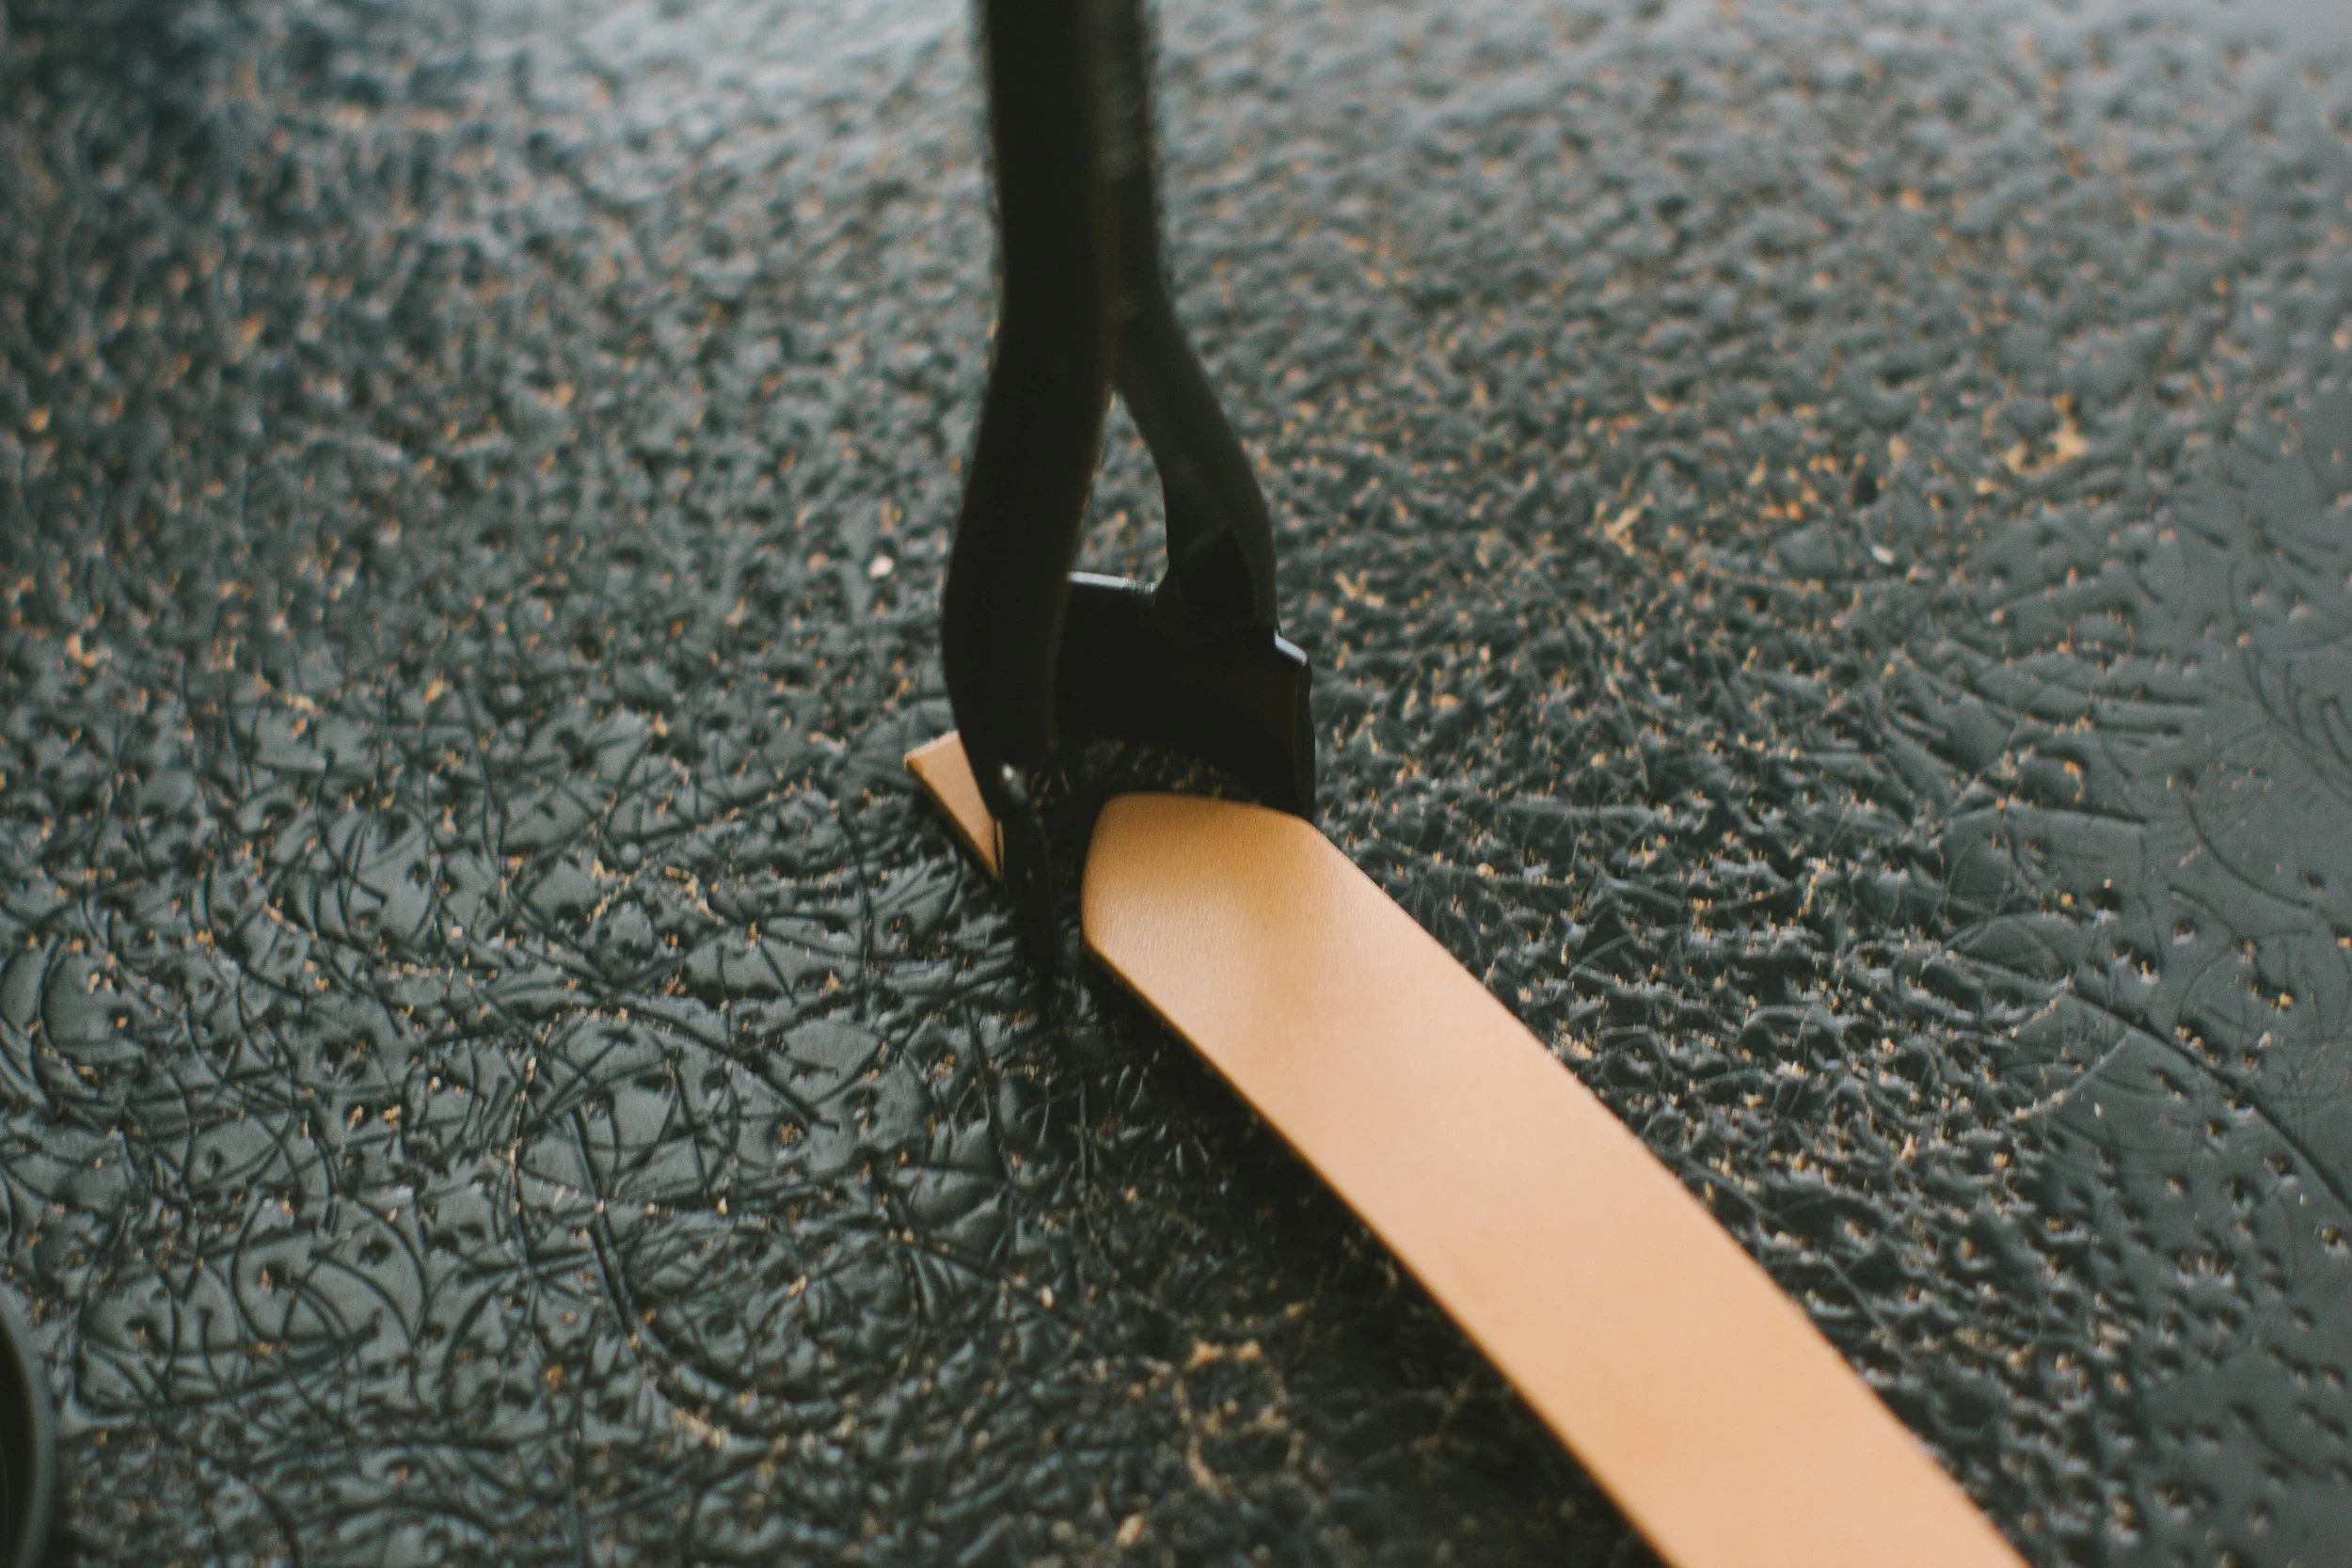
With the English Point end punch, cut off one of the ends.

Punch a hole using the Rotary punch on the end you just stamped with the english point end punch.
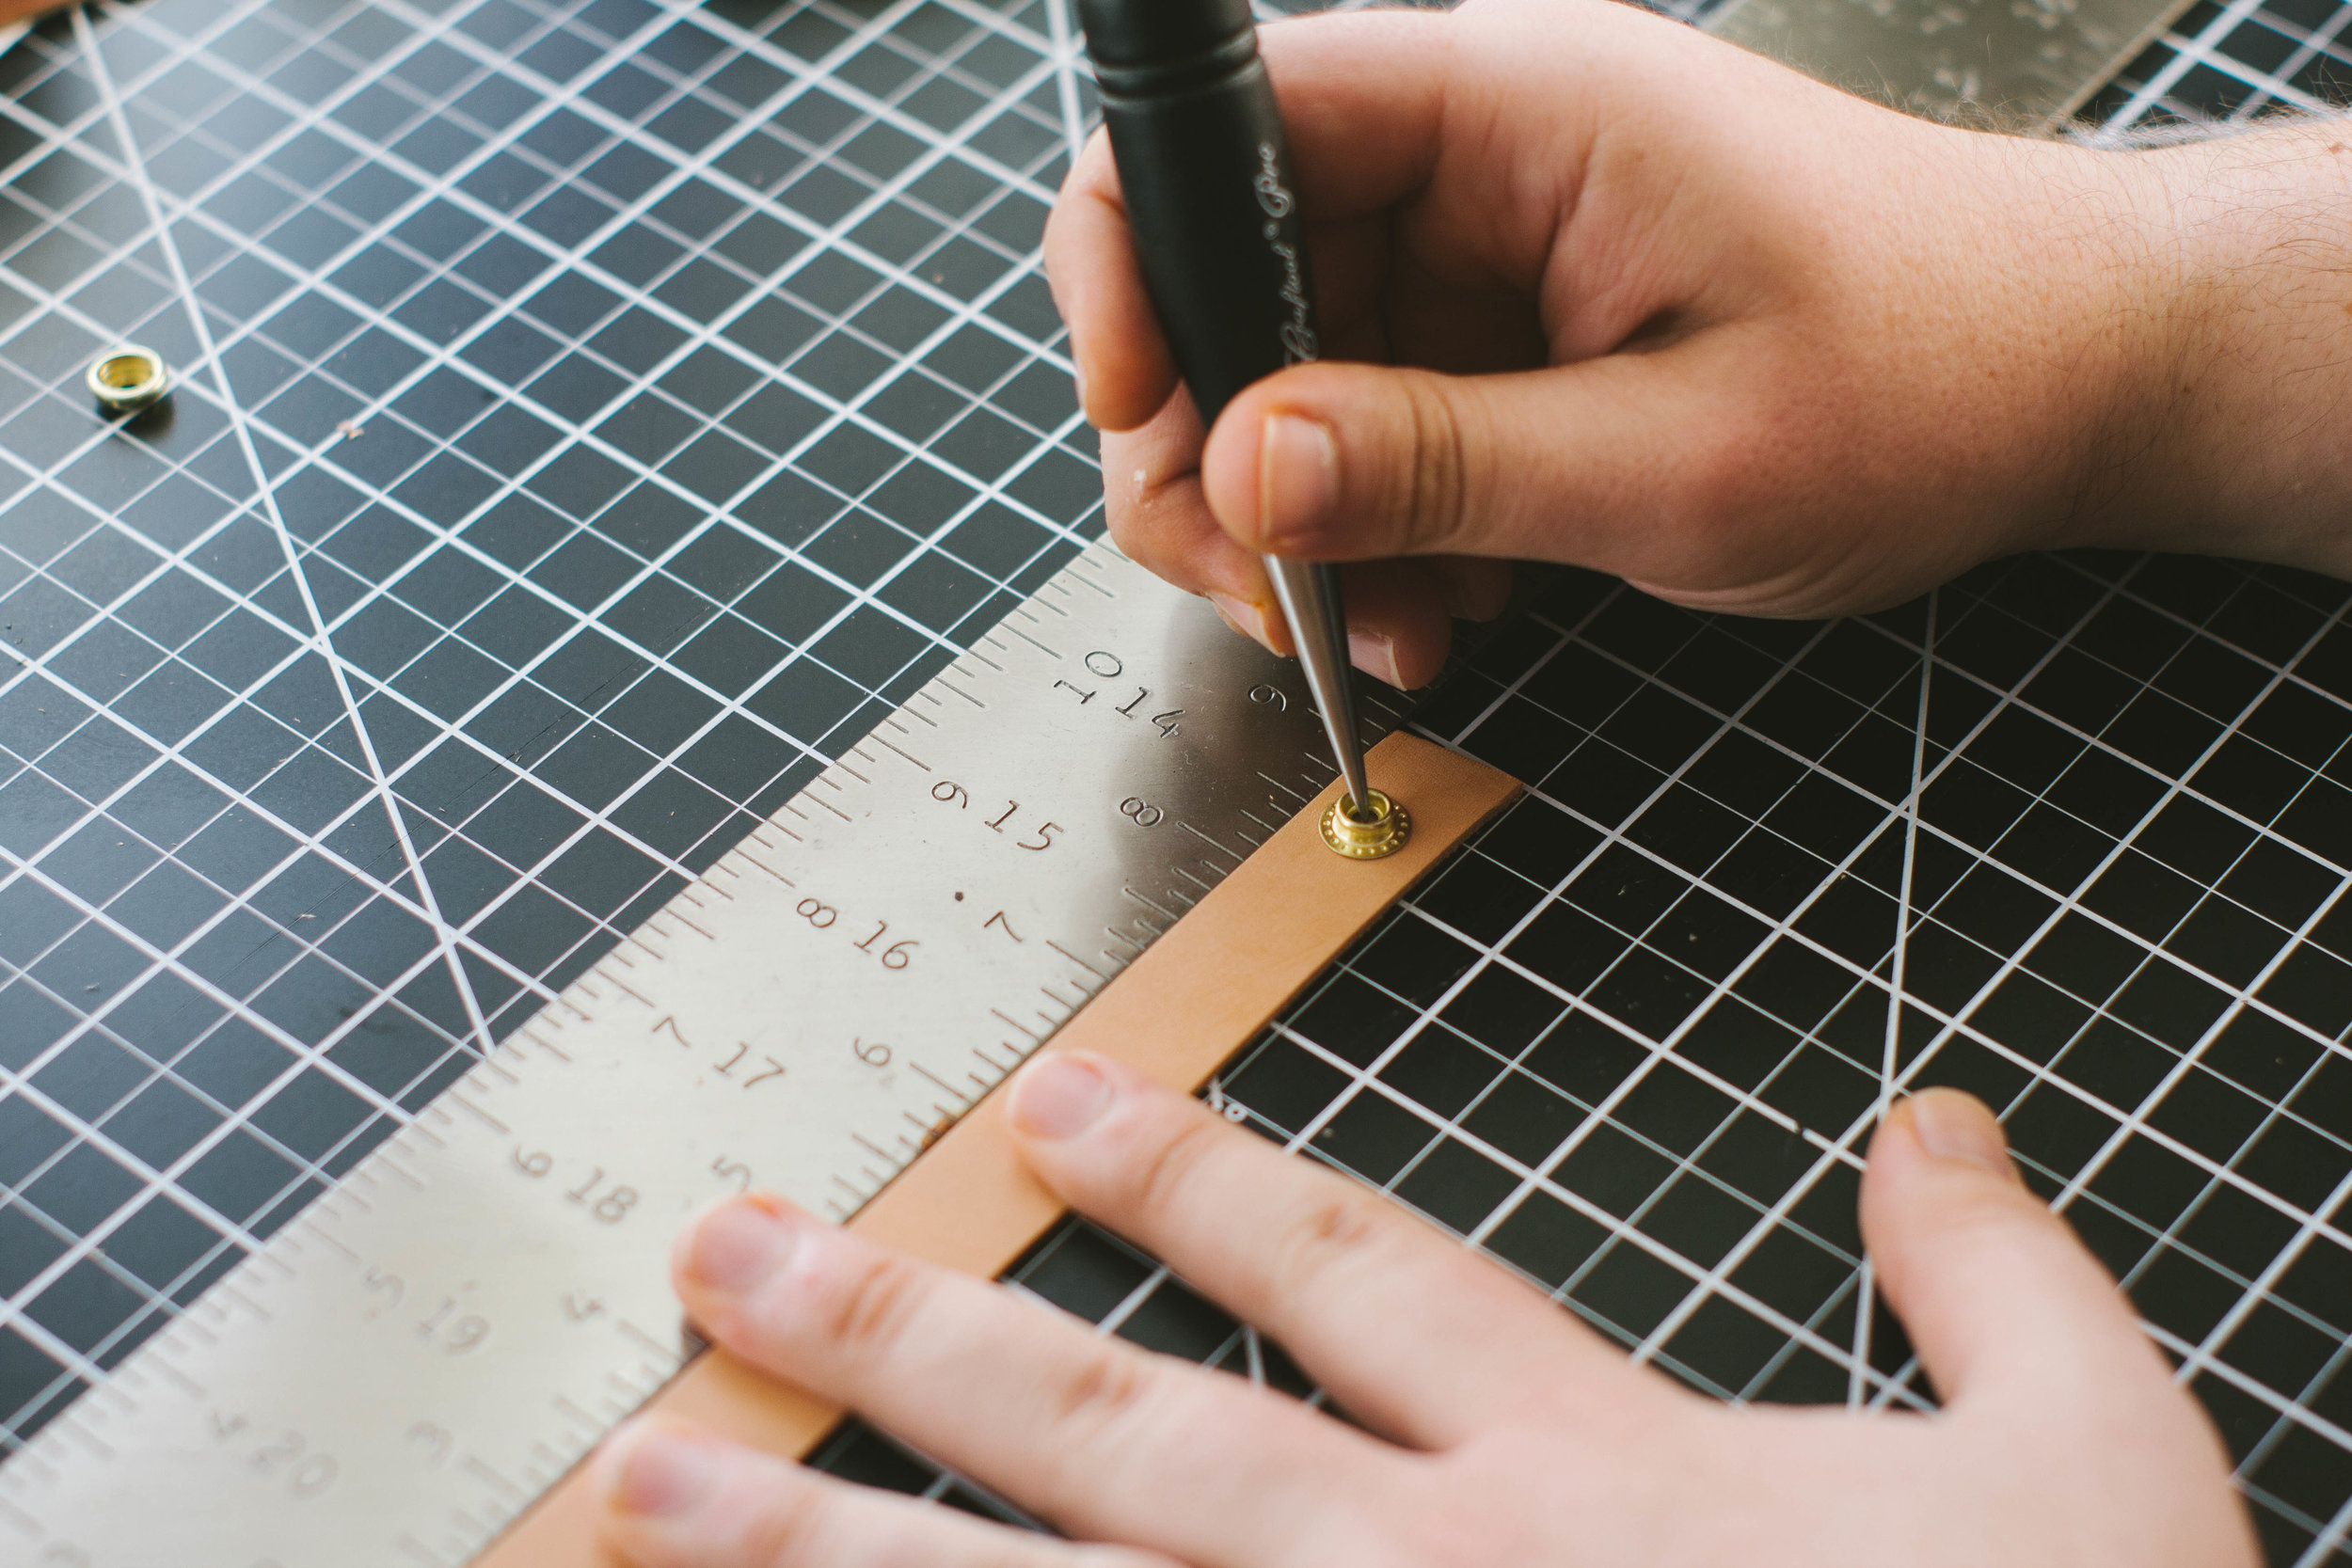
My wrist measures 8" so I mark the next hole at 8.5" (adding 1/2" for comfort) and use a line 20 snap for a center-hole reference.
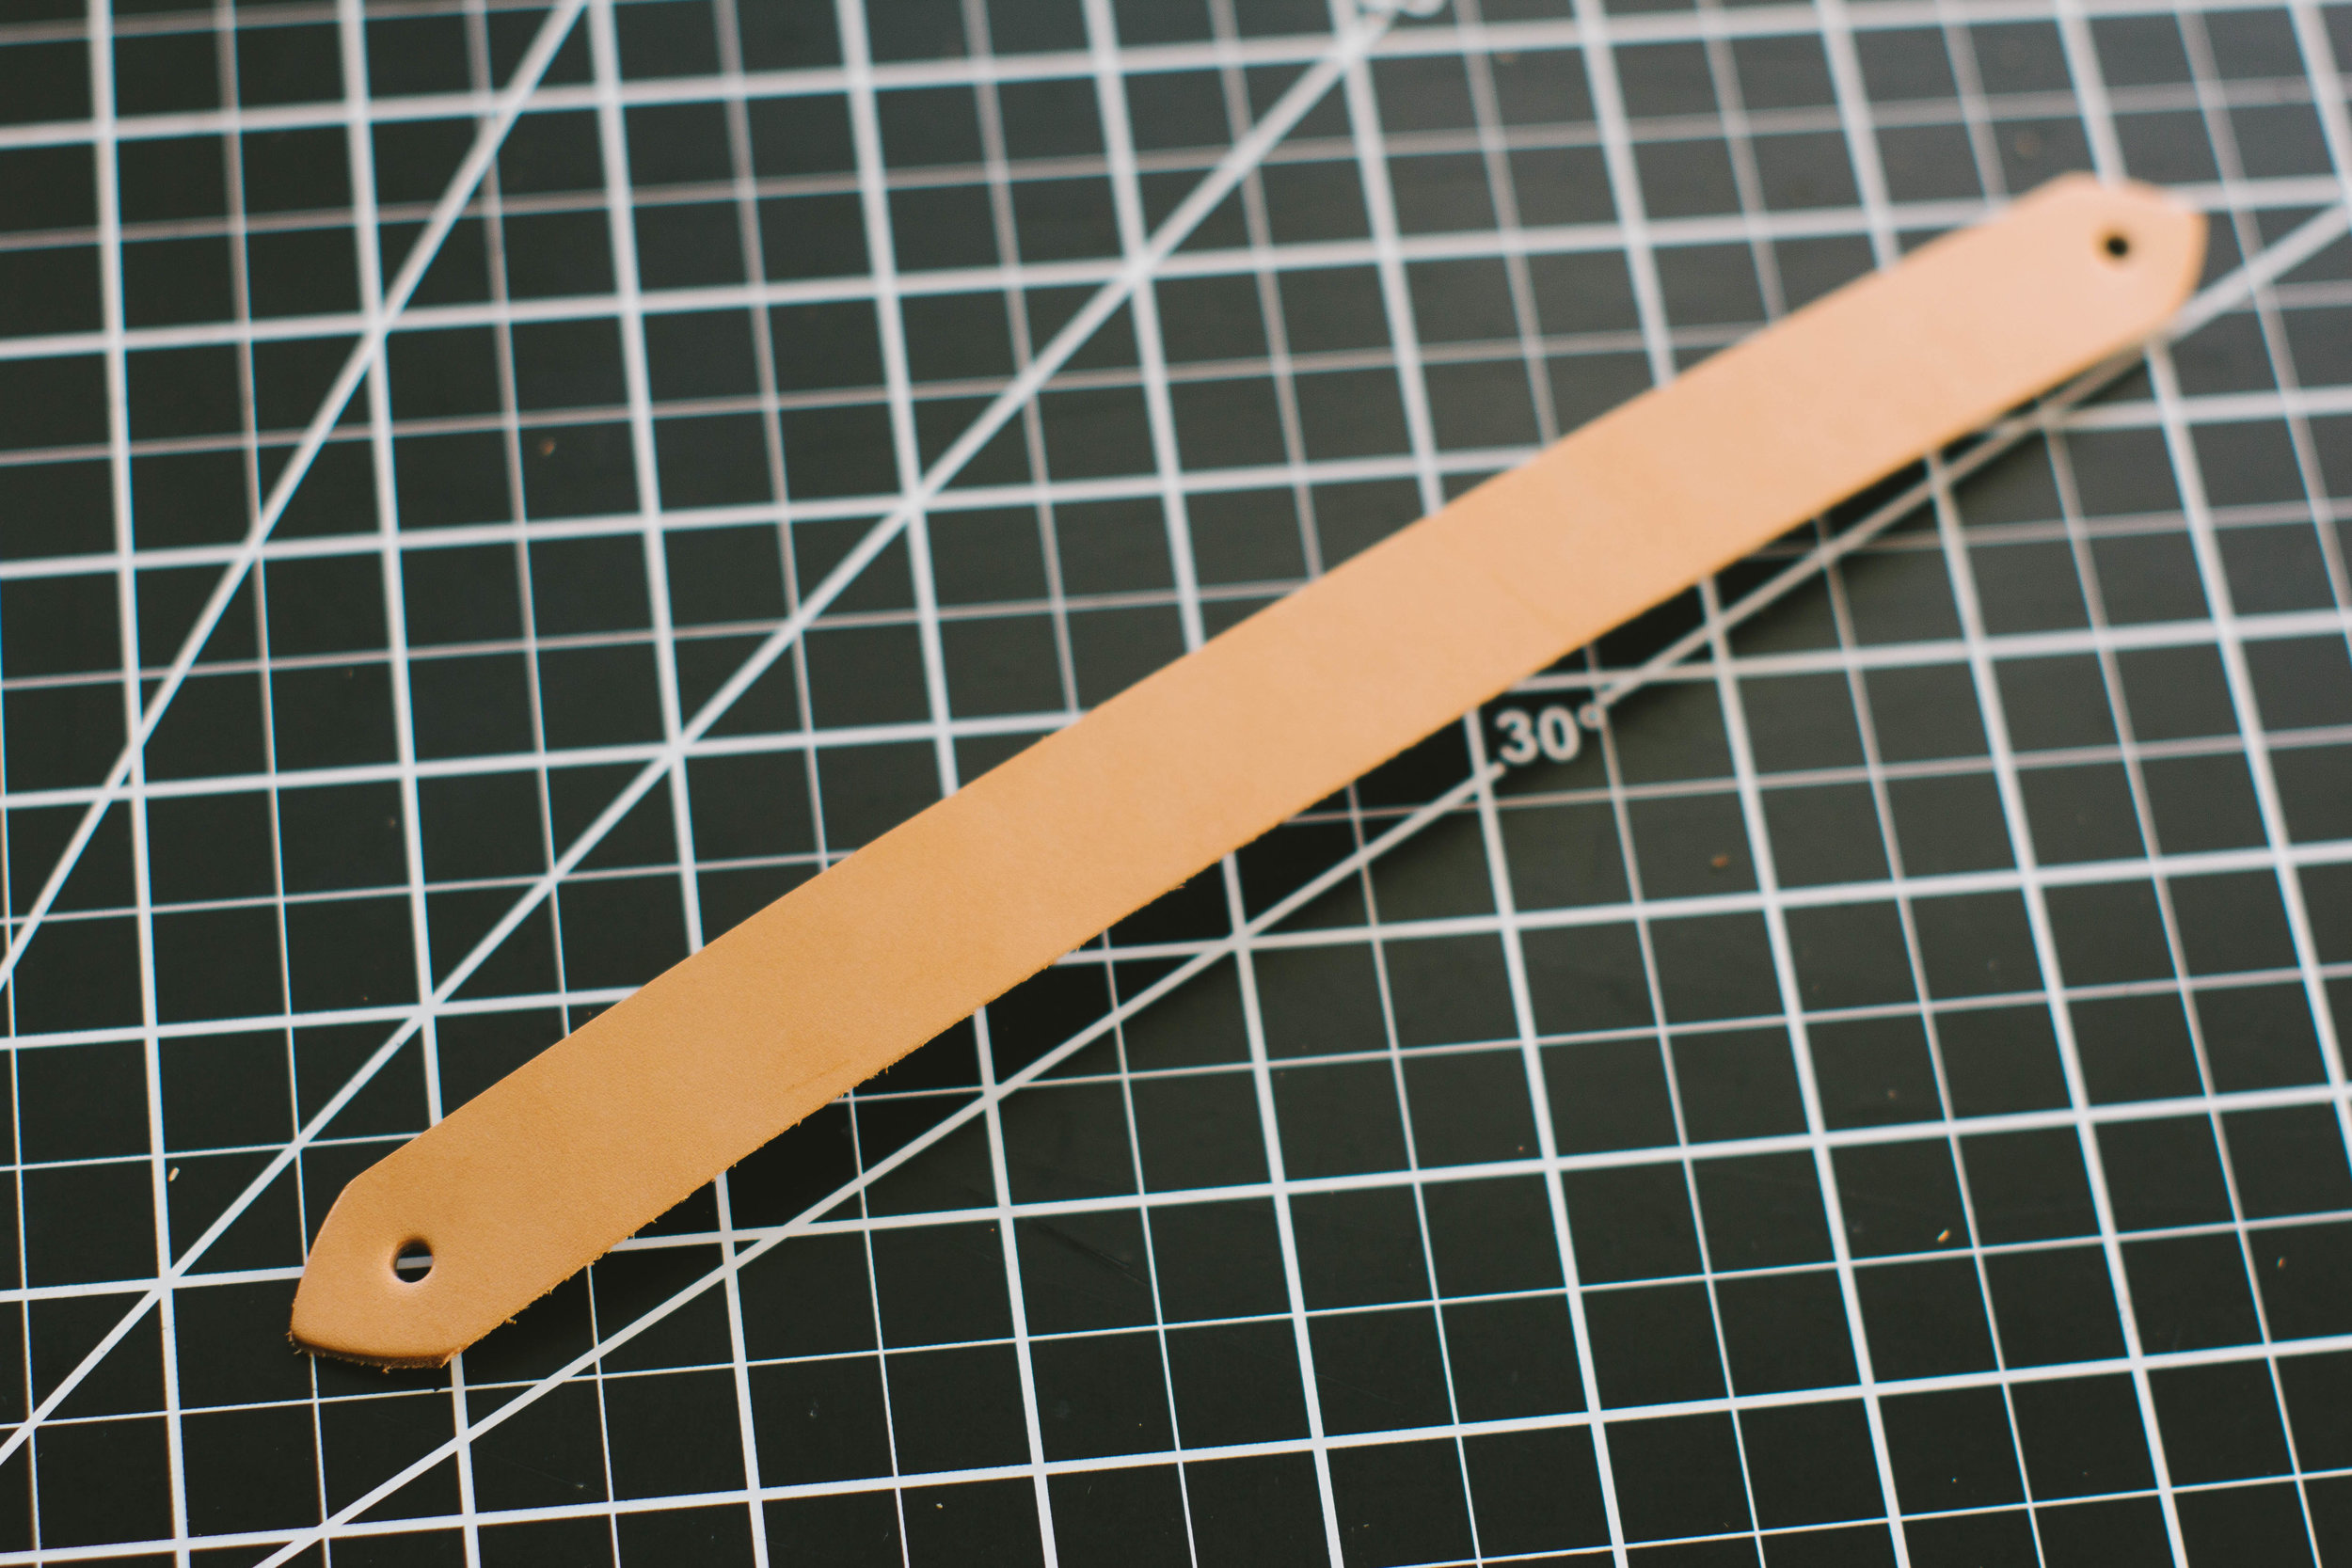
Stamp the English Point end punch on this other end. Now you have the blank for your bracelet!
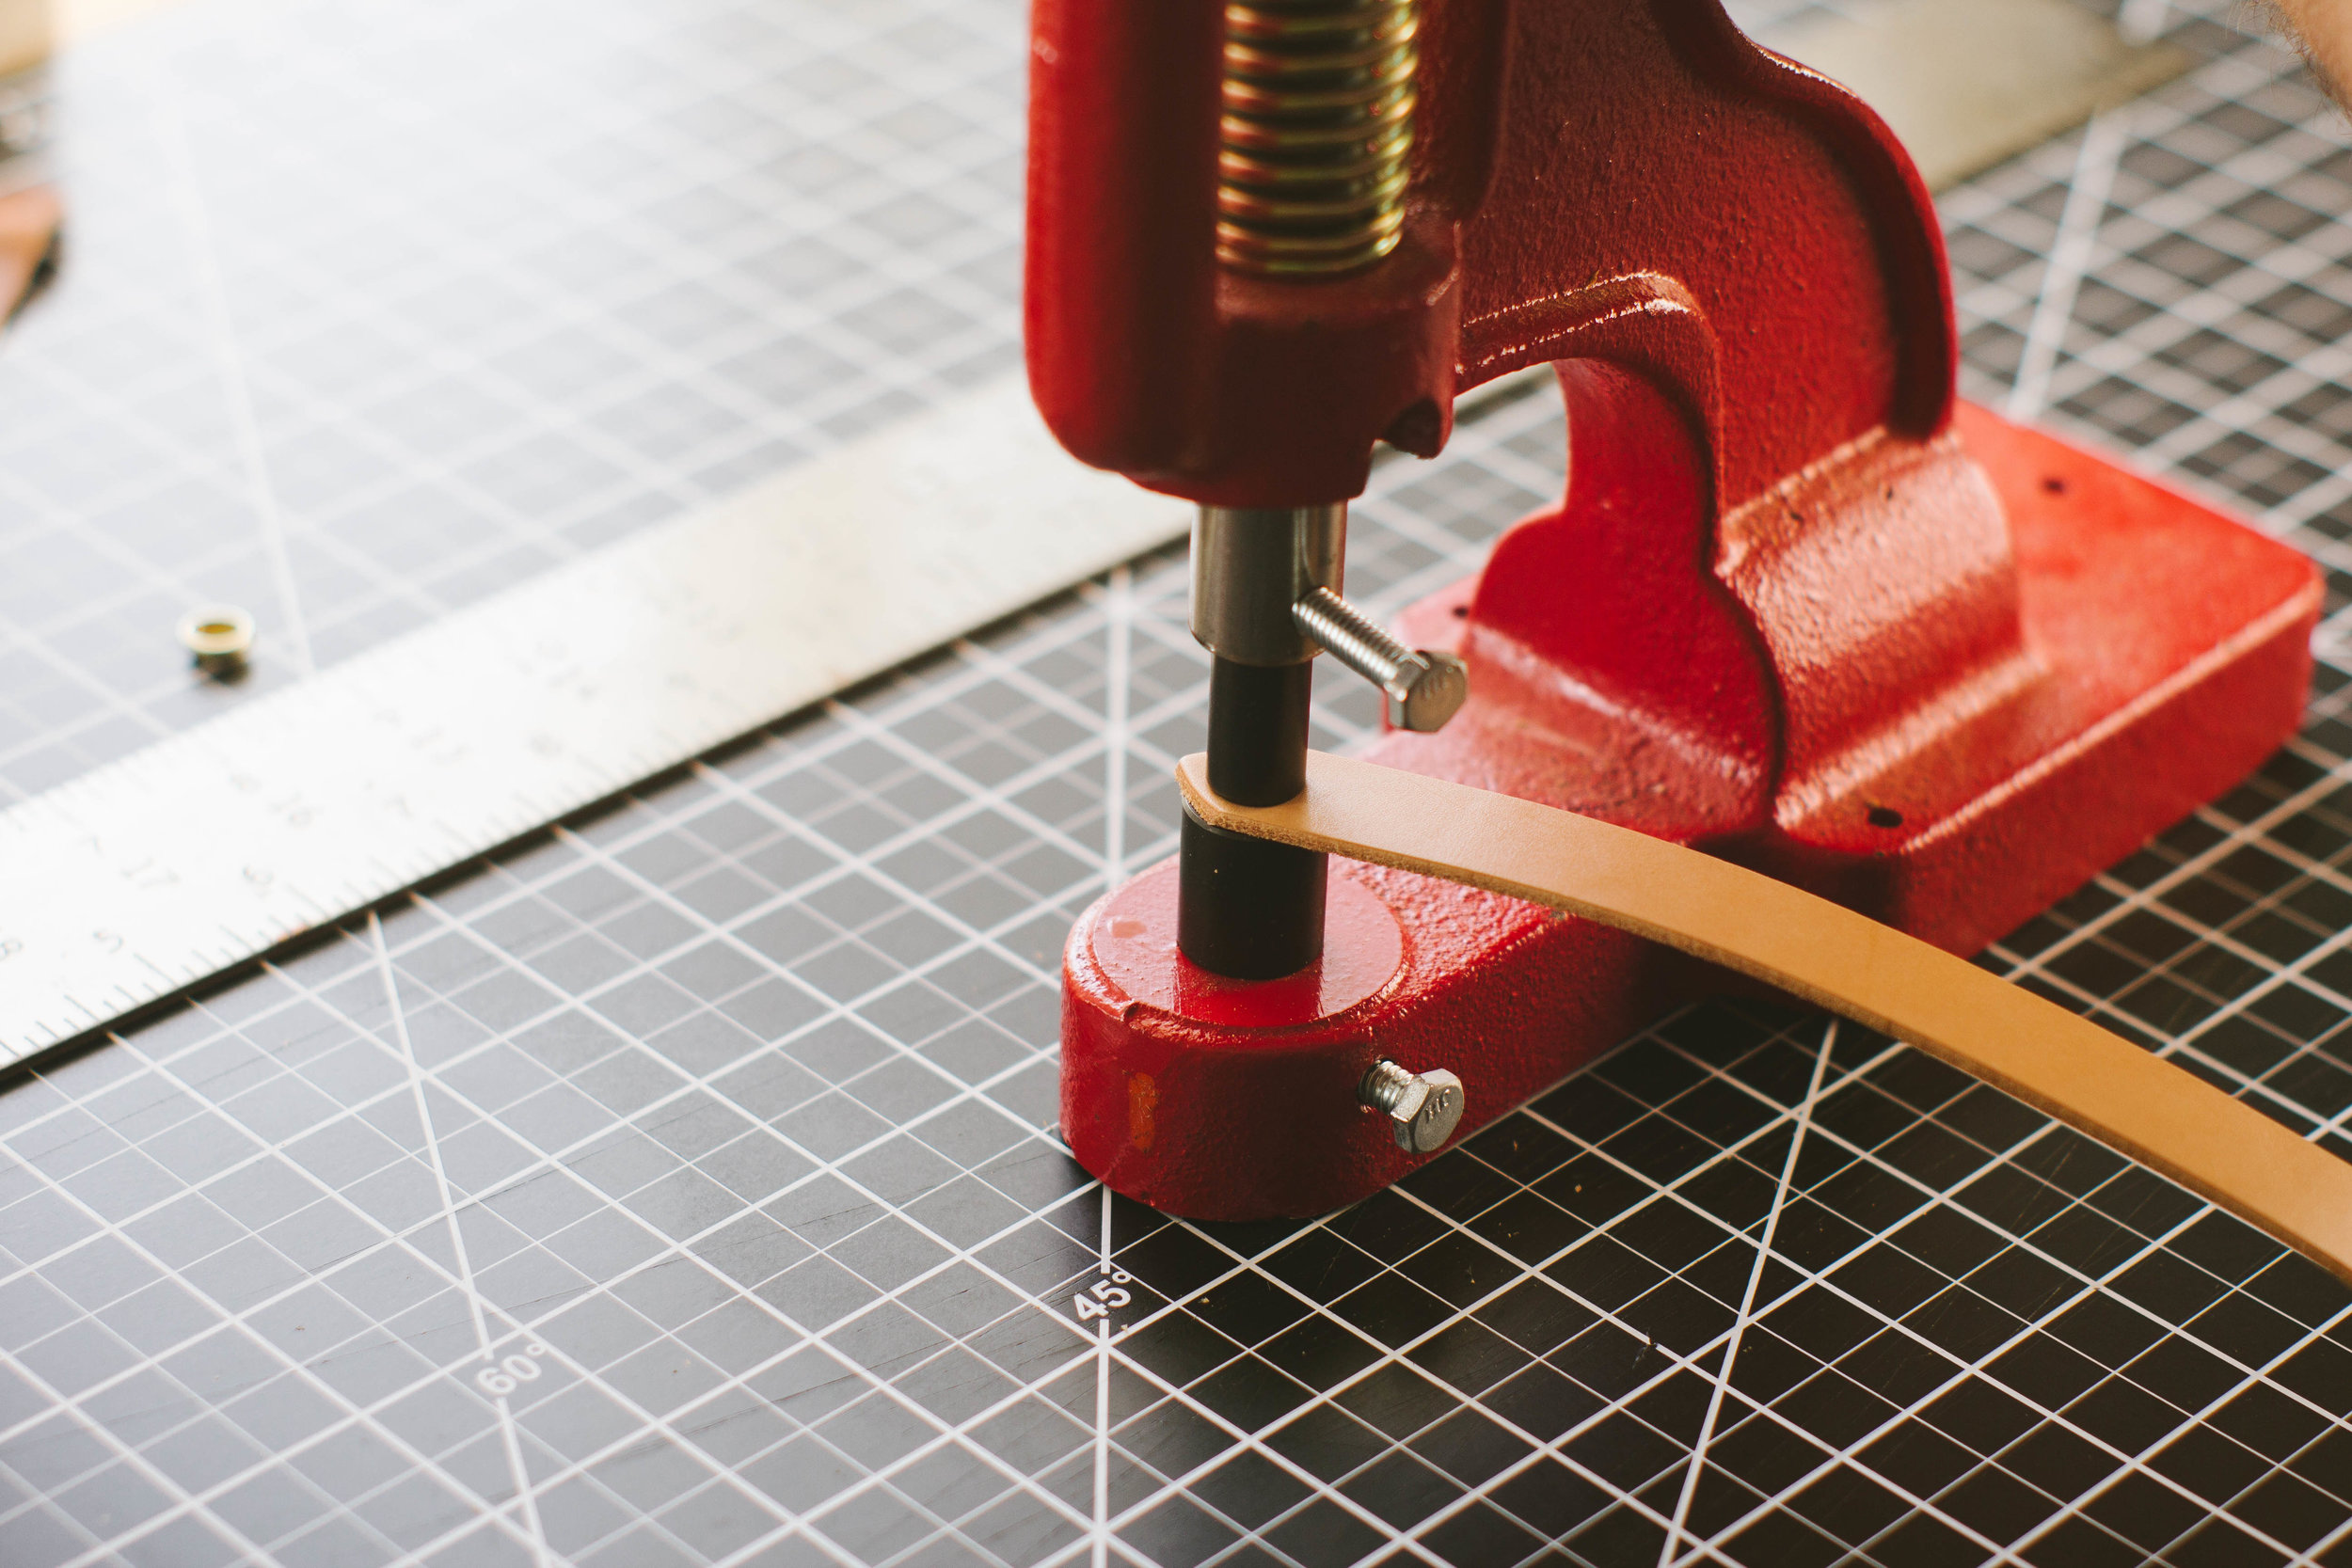
Set both the male and female line 20 brass snaps on both ends of the bracelet. Since I have a Craftool Hand Press for my line 20 snaps, setting these snaps is easy. I highly recommend getting one. There are Multi Snap setter sets you can get online to hammer these type of snaps if you do cannot get a Hand Press and setters.
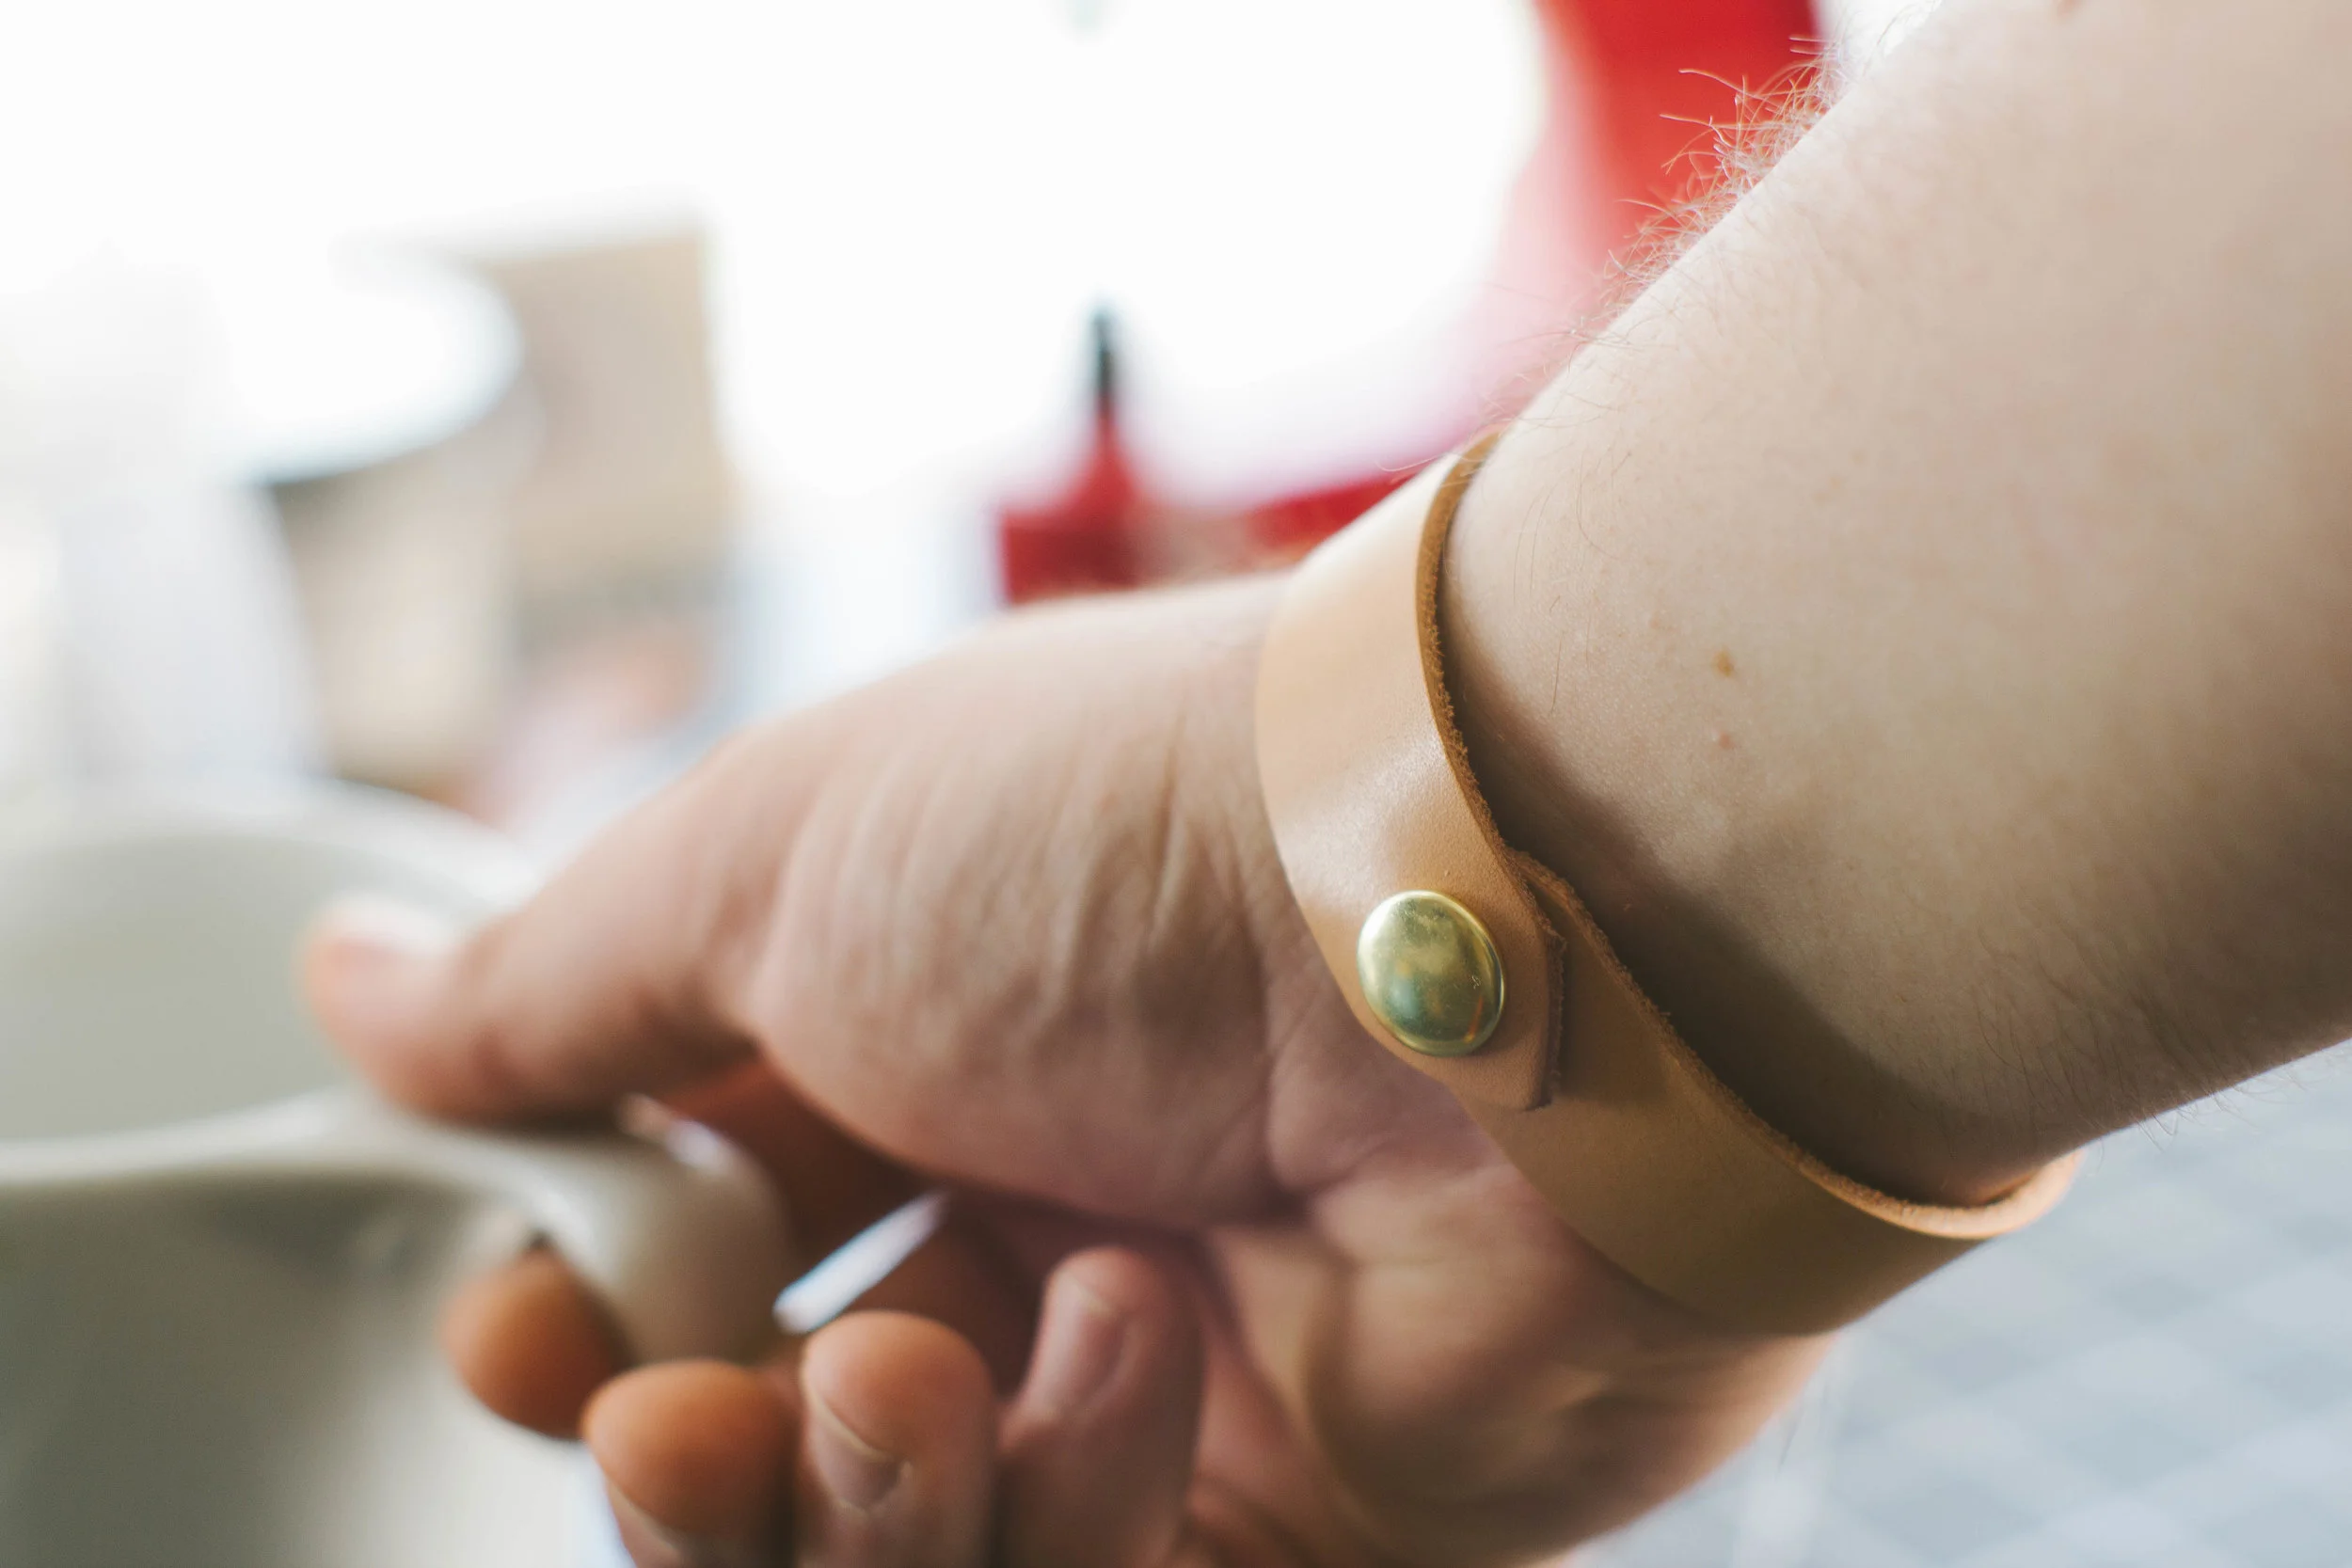
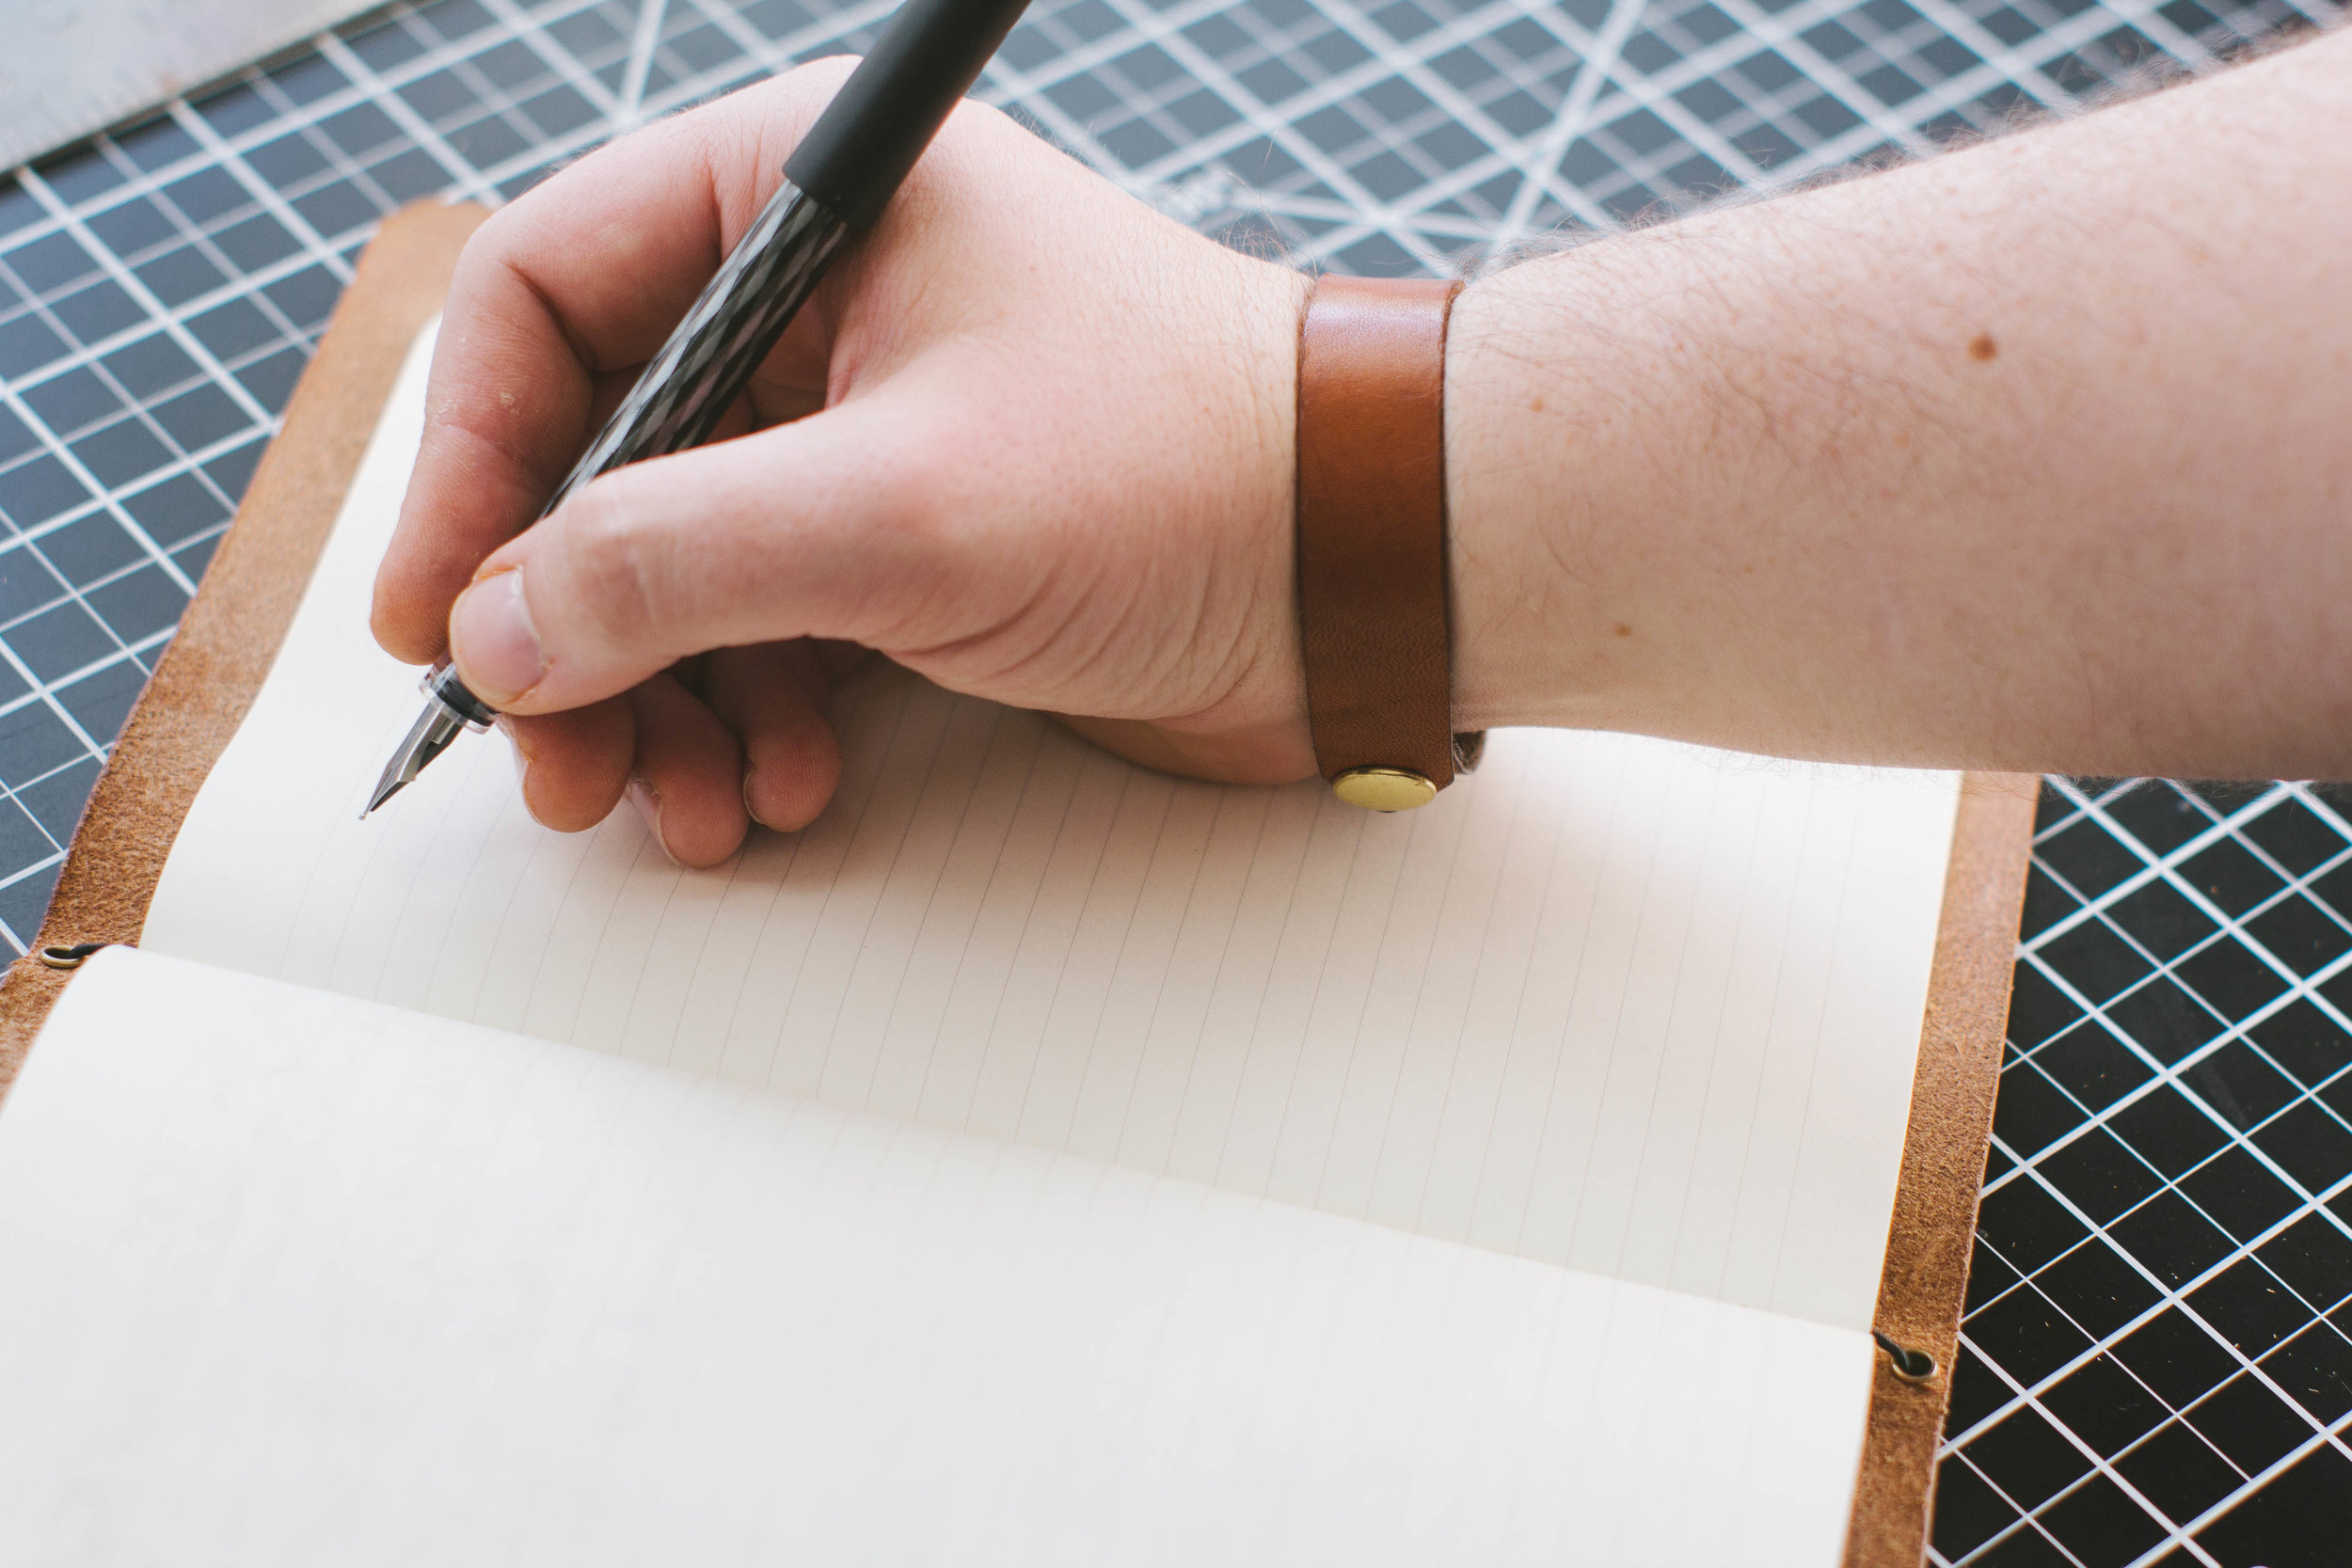
Your bracelet is done! Now, you can choose to add a logo or initials to personalize the strap to your liking. Other than that, I'd recommend throwing your new bracelet in the sun for a day or two, and use mink oil or neatsfoot oil to help the tanning process along. For example, here's my personal bracelet after 6 months of daily use and some initial sun and oil treatments...
I really hope you enjoyed this DIY post. I will be posting more DIY's like these as I have the time. What did you think?
-Ted